How I send and receive emails from my custom domain reliably using AWS SES, Cloudflare and Gmail
How I send and receive emails from my custom domain reliably using AWS SES, Cloudflare and Gmail
In this post, I will be going over how I set up my custom domain to send emails with AWS SES and receive emails with Cloudflare Email Routing. I will also be going over how I set up Gmail to send emails from my custom domain. All for a few cents per year.
The Challenges of Self-Hosting
Despite what others may tell you, yes. You can self-host your own email server, and solutions like Mail-in-a-Box make it easy to do so. However, there are a few challenges with self-hosting your own email server you can read about here. Other solutions like fastmail but I’m not a fan of paying a monthly fee for things that should be charged by usage.
The Solution
Receiving Emails with Cloudflare Email Routing
There are a plethora of ways to set up a custom domain to receive emails but by far the easiest solution for me was Cloudflare Email Routing. I already have my domains dns managed by Cloudflare so this was a no brainer for me.
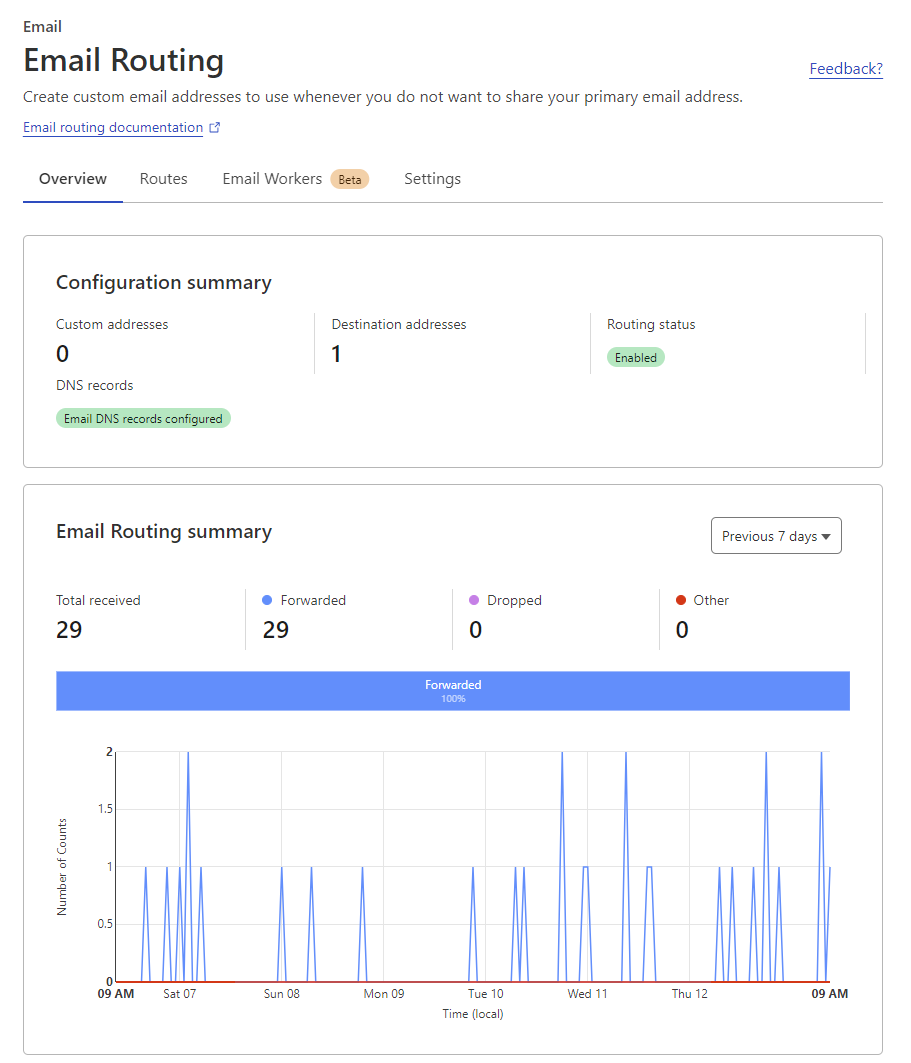
To set this up, you simply need to go to your domain in Cloudflare, click on the email routing tab, add your destination address (or multiple addresses), then either enable catch-all, add custom addresses or both. For the most part, all I use is catch-all but if you needed to send an email to a specific address, you could add that address here and it would be forwarded to a separate destination address.
The best part is, Cloudflare automatically sets up all the MX and TXT records for email routing for you. They even have a handy dashboard showing stats for emails received, forwarded, dropped etc.
Sending Emails with AWS SES
I have found that the best way to send emails from your own domain is to use a third party email service. There are many out there however, for a cost effective solution I found that AWS SES is a great option. If you are able to get your domain verified and out of the SES Sandbox. Since it’s on AWS, you are charged by volume rather than a monthly fee.
At the time of writing, they charge $0.10 per 1000 emails sent and $0.12 per GB of attachments sent along with no minimum fees or mandatory usage. This is a very cost effective solution for me since I don’t send many emails from my own domain. Compared to other email services which charge a larger monthly fee, this is a much better solution for me.
To set up AWS SES, visit the SES console in AWS and add your domain to the list of verified identities. I used the following settings:
- Identity Type: Domain
- Domain: example.com
- Custom MAIL FROM Domain: mail.example.com
- Publish DNS record to Route 53: Disabled
In the Advanced DKIM settings dropdown, enable Easy DKIM, set DKIM signing key length to 2048, and disable publishing DNS records to Route 53. Ensure DKIM signatures are enabled, and click “Create Identity.”
Click create Identity.
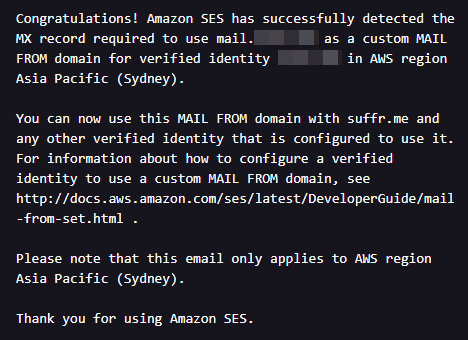
After creating your identity, AWS SES provides a list of DNS records for DKIM and MAIL FROM domains. Add these records to your domain’s DNS settings, and wait for them to propagate, which may take a few minutes to hours. Once complete, return to the SES console to check the status of your domain. If everything is in order, you’ll see a green checkmark next to your domain, and AWS will notify you via email about the successful detection of the DNS records.
You can test sending emails from your domain by going to the SES console, clicking one of your verified identities, clicking on the send a test email button and entering the email address you want to send the test email to. If everything is working correctly, you should receive the test email in your inbox.
Note that sandboxed accounts cannot send emails to unverified email addresses. If you want to send emails to unverified email addresses (i.e. everyone else on the internet), you will need to request to be removed from the sandbox. This can take anywhere from a few hours to a few days.
Here is a snippet of what was requested of me to be removed from the sandbox
For example, tell us how often you send email, how you maintain your recipient lists, and how you manage bounces, complaints, and unsubscribe requests. It is also helpful to provide examples of the email you plan to send so we can ensure that you are sending high-quality content.
Sending Emails from Gmail
Now that you have your domain set up to receive emails and send emails, you can set up Gmail to send emails from your domain. This is a fairly simple process. Within the AWS SES console, click on SMTP Settings, then click on Create SMTP Credentials. You will be given an SMTP username and password. Copy these down somewhere as you will need them later.
Now go to your Gmail settings, click on the accounts and import tab, then click on add another email address. Enter your name and the email address you want to send from. Click next step. Enter the SMTP server from the SMTP settings page in AWS SES. Enter the SMTP username and password you noted down earlier. Enter the port as 587. Click add account.
You will be sent a verification email to the email address you are trying to send from. Click the link in the email to verify the email address. You should now be able to send emails from your domain using Gmail.
You can repeat this process for as many email addresses as you want to send from using the same SMTP credentials, just specify a different email address when adding the account in Gmail.
You should also be able to use these SMTP credentials in any other email client that supports SMTP.
Conclusion
This is the solution I have found to work best for me. It is fairly simple to set up and works reliably. I have been using this solution for about a year now and have not had any issues with it. I hope this helps someone else out there who is looking for a similar solution. And the best part is, due to my low usage, it costs a few cents per year to run.
References
Cloudflare Email Routing Getting Started
AWS SES Verify Domains on SES Verify Specific Emails on SES Moving out of the Amazon SES Sandbox Getting SMTP Credentials for SES